> ## Documentation Index
> Fetch the complete documentation index at: https://docs.pezzo.ai/llms.txt
> Use this file to discover all available pages before exploring further.
# Step 2: Prompt Engineering
> Create your first prompt and do some prompt engineering
## Create your first Prompt
In the Prompts page, click the **+ New Prompt** button. This will open a modal where you can create a new Prompt.
It's best to choose a descriptive name for your prompt. We will call it `FactGenerator`.
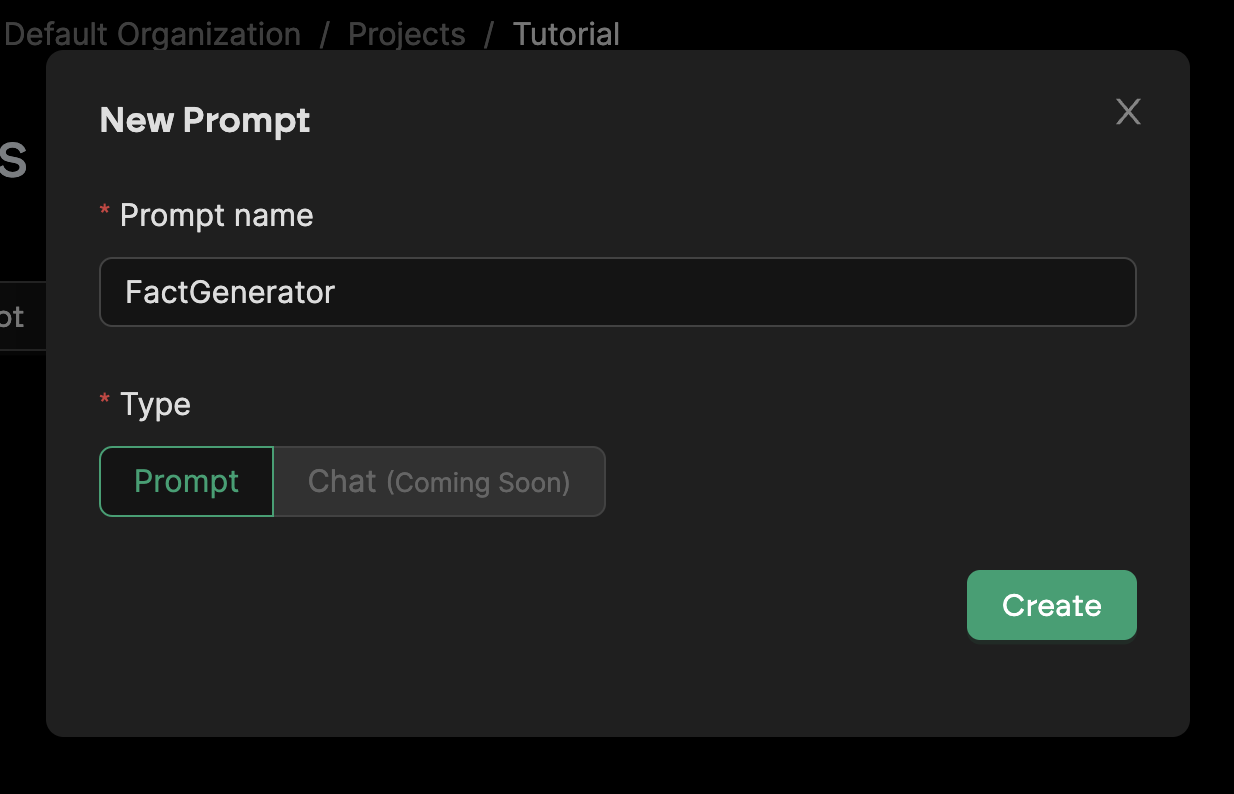 Hit **Create** and you will be taken to the Prompt page.
## The Prompt Editor
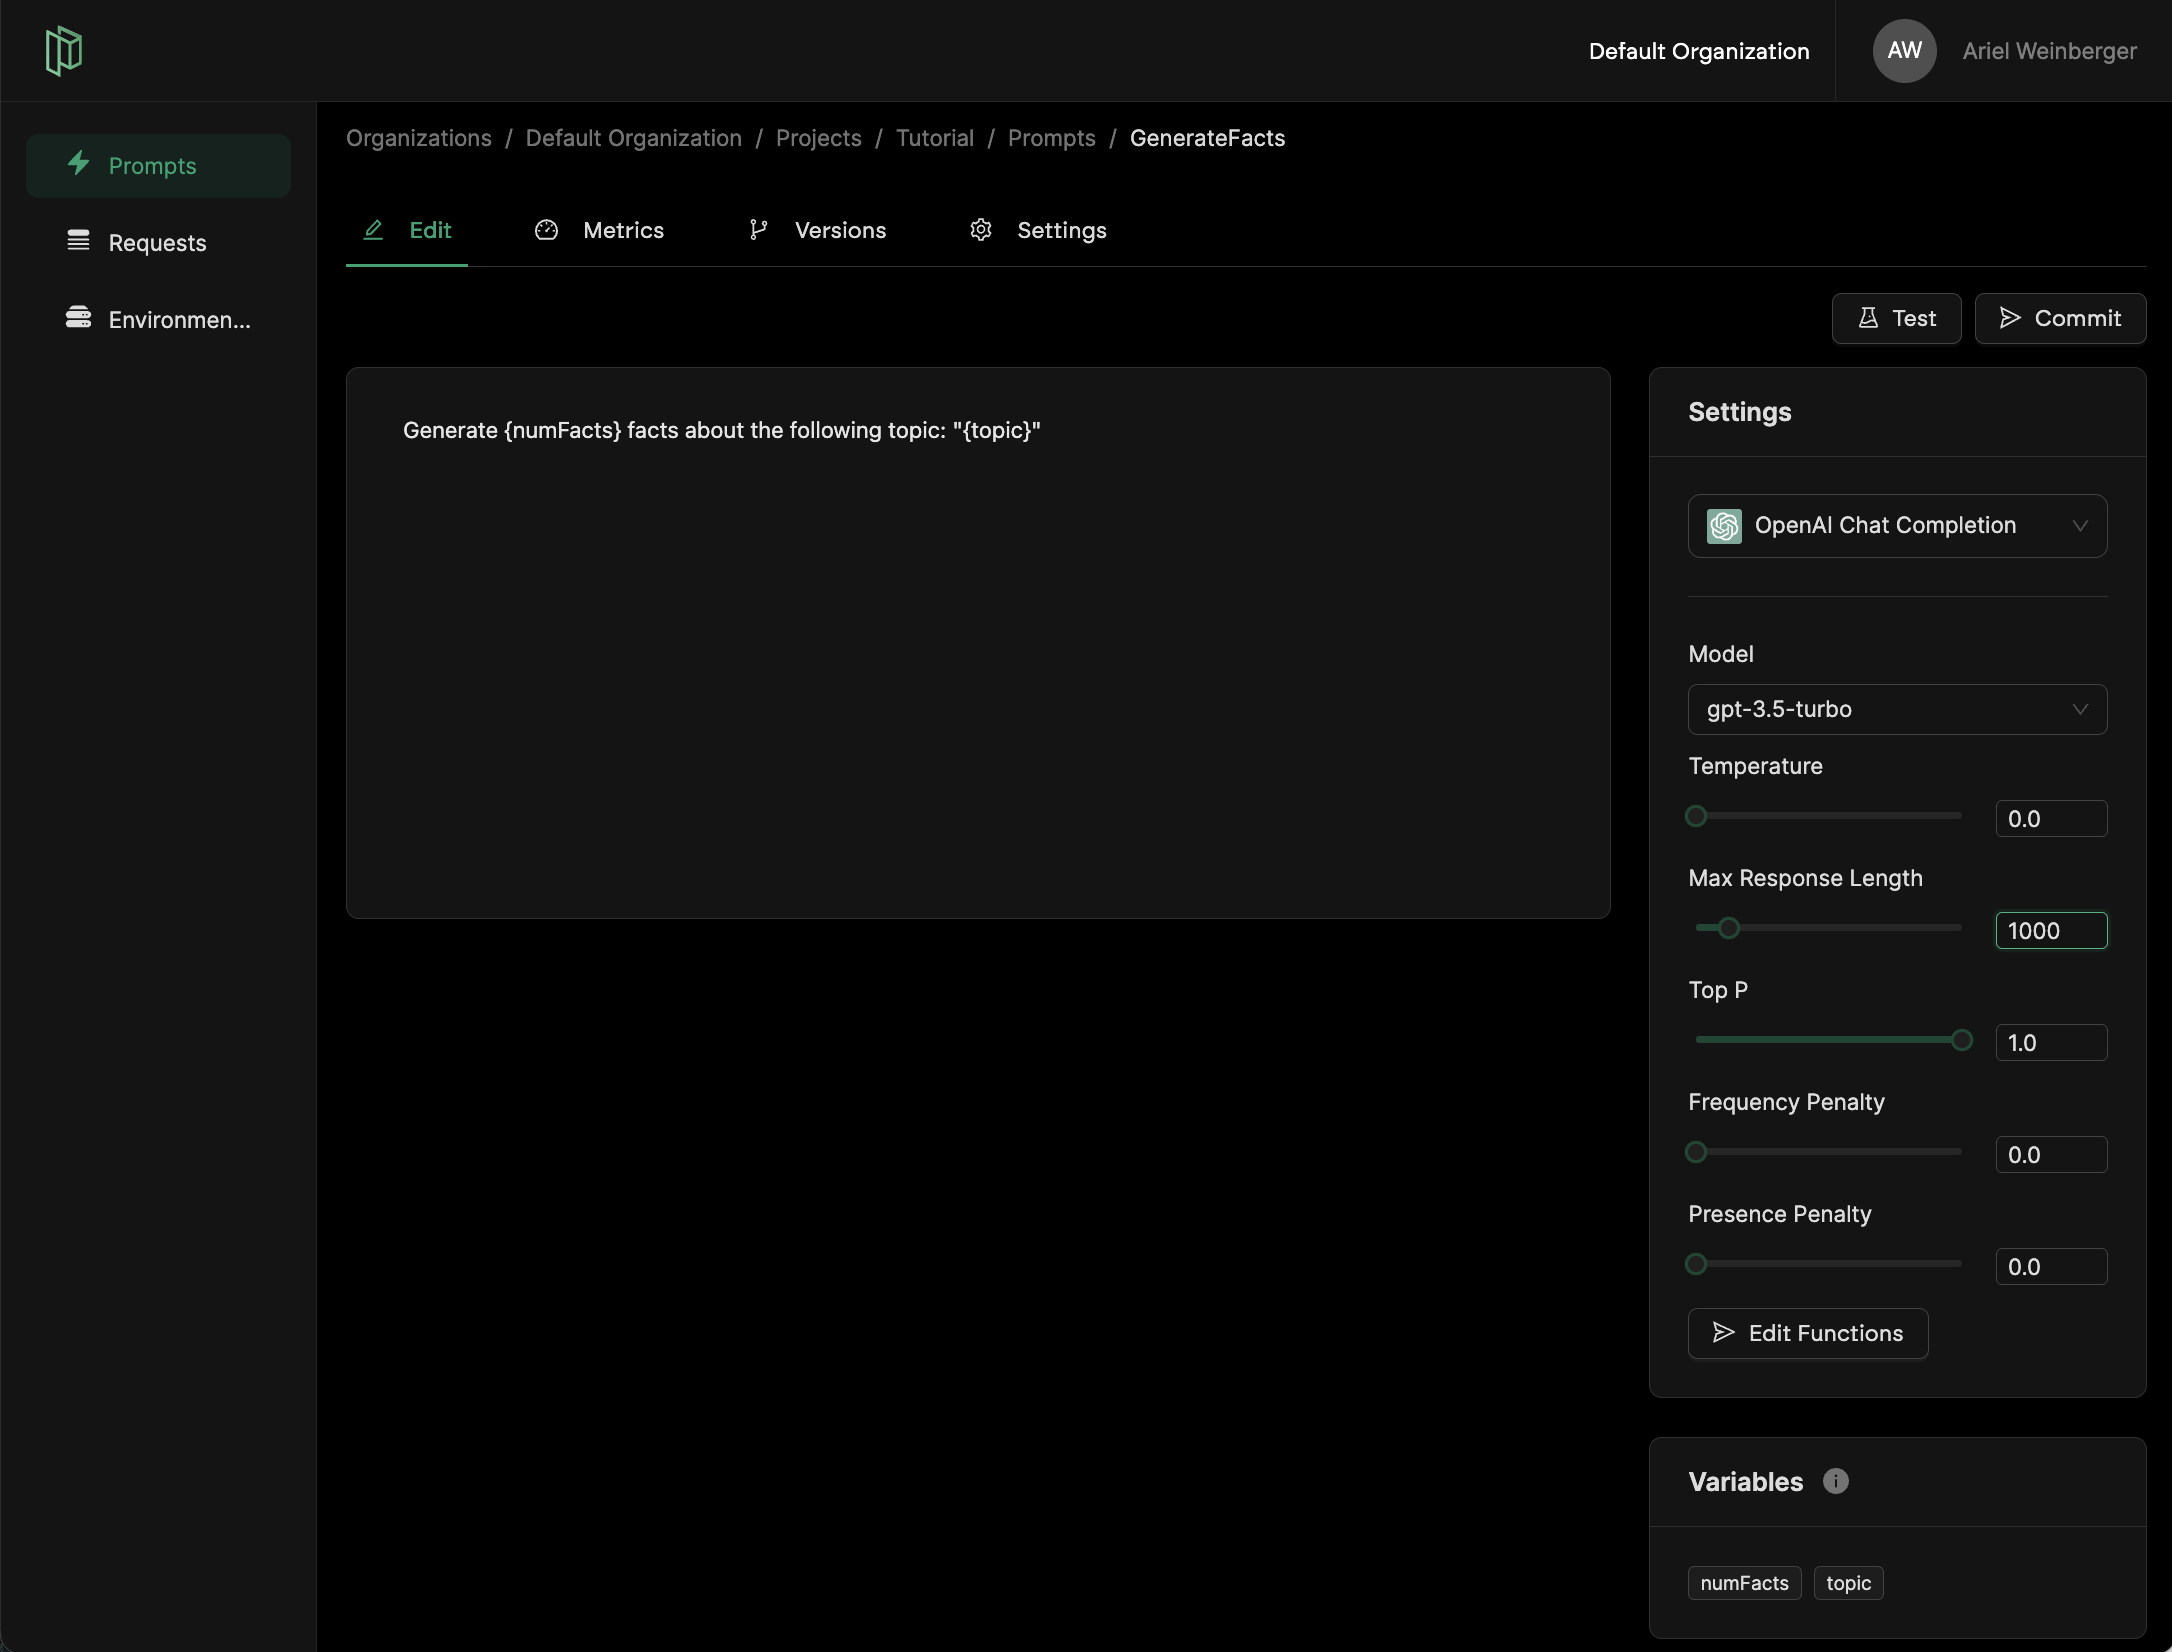
The Prompt Editor is the first screen you will see after selecting/creating a new prompt. This is wehere you will do some prompt engineering, commit and publish your prompts. You can find two main sections in the prompt editor - the **Content** and the **Settings**.
### Prompt Content
The Prompt Content is where you will write your prompt. In our case, we want to ask the LLM (in our case, OpenAI) to generate facts about a topic.
Simply copy and paste the following:
```plaintext theme={null}
Generate {numFacts} facts about the following topic: "{topic}"
```
You can define variables in the prompt content by using curly braces. In our case, we define the `numFacts` and `topic` variables.
### Prompt Settings
Depending on the LLM provider, the settings will vary. In our case, we will use the OpenAI API. Feel free to adjust the settings to your liking.
However, for this tutorial, we will make the following adjustments:
* Temperate: `0`
* Max Response Length: `1000`
When expecting a structured response or strictly factual data, it's best to set the temperature to 0. This reduces the chance of "hallucinations".
Hit **Create** and you will be taken to the Prompt page.
## The Prompt Editor
The Prompt Editor is the first screen you will see after selecting/creating a new prompt. This is wehere you will do some prompt engineering, commit and publish your prompts. You can find two main sections in the prompt editor - the **Content** and the **Settings**.
### Prompt Content
The Prompt Content is where you will write your prompt. In our case, we want to ask the LLM (in our case, OpenAI) to generate facts about a topic.
Simply copy and paste the following:
```plaintext theme={null}
Generate {numFacts} facts about the following topic: "{topic}"
```
You can define variables in the prompt content by using curly braces. In our case, we define the `numFacts` and `topic` variables.
### Prompt Settings
Depending on the LLM provider, the settings will vary. In our case, we will use the OpenAI API. Feel free to adjust the settings to your liking.
However, for this tutorial, we will make the following adjustments:
* Temperate: `0`
* Max Response Length: `1000`
When expecting a structured response or strictly factual data, it's best to set the temperature to 0. This reduces the chance of "hallucinations".
 ## Testing the Prompt
Pezzo allows you to test your prompts before publishing them. This is a great way to quickly iterate on your prompts and make sure they're working as expected.
To test your prompt, simply click the **Test** button. This will open a modal where you can enter the values for the variables you defined in the prompt content.
For example, if we want to generate 3 facts about cats, we will enter the following:
## Testing the Prompt
Pezzo allows you to test your prompts before publishing them. This is a great way to quickly iterate on your prompts and make sure they're working as expected.
To test your prompt, simply click the **Test** button. This will open a modal where you can enter the values for the variables you defined in the prompt content.
For example, if we want to generate 3 facts about cats, we will enter the following:
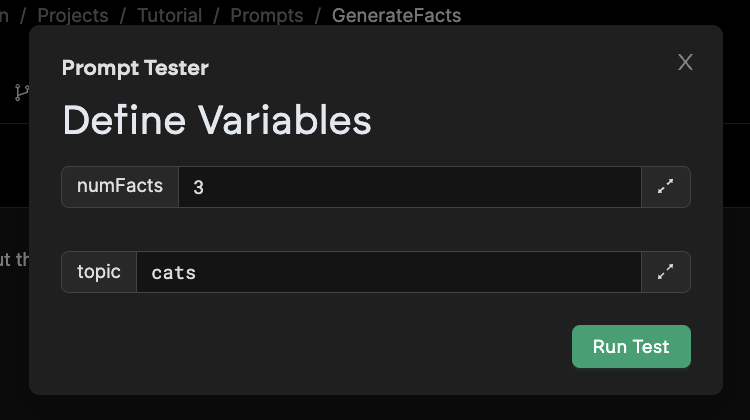 Then, hit **Test** and wait for the results. You should see something like this:
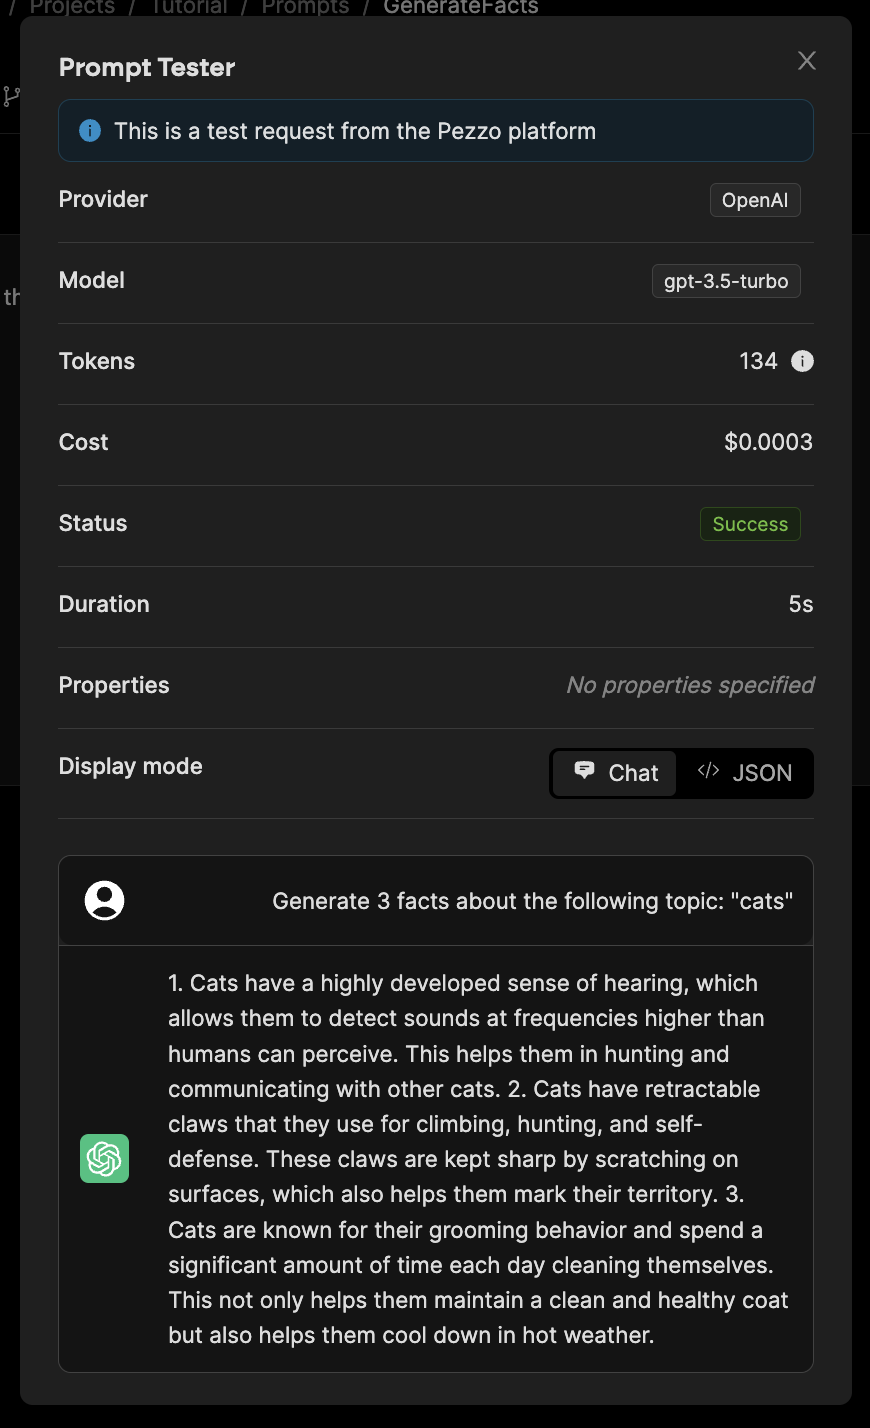 In the test results you can find plenty of useful information such as:
* Token usage
* Cost
* Status (success, error)
* Duration
* Request body
* Response body
This is extremely useful when debugging prompts and making sure they're working as expected. Performing tests in Pezzo allows you to ensure that whatever prompt you publish will work as expected, without having to write a single line of code!
## Commiting and Publishing the Prompt
Once we're happy with the prompt, there is one more step we need to do before we can consume it in our application. We need to **commit and publish** the prompt.
Simply click the **Commit** button at the top right, and provide a message, such as `Initial version`. Then, hit **Commit**.
In the test results you can find plenty of useful information such as:
* Token usage
* Cost
* Status (success, error)
* Duration
* Request body
* Response body
This is extremely useful when debugging prompts and making sure they're working as expected. Performing tests in Pezzo allows you to ensure that whatever prompt you publish will work as expected, without having to write a single line of code!
## Commiting and Publishing the Prompt
Once we're happy with the prompt, there is one more step we need to do before we can consume it in our application. We need to **commit and publish** the prompt.
Simply click the **Commit** button at the top right, and provide a message, such as `Initial version`. Then, hit **Commit**.
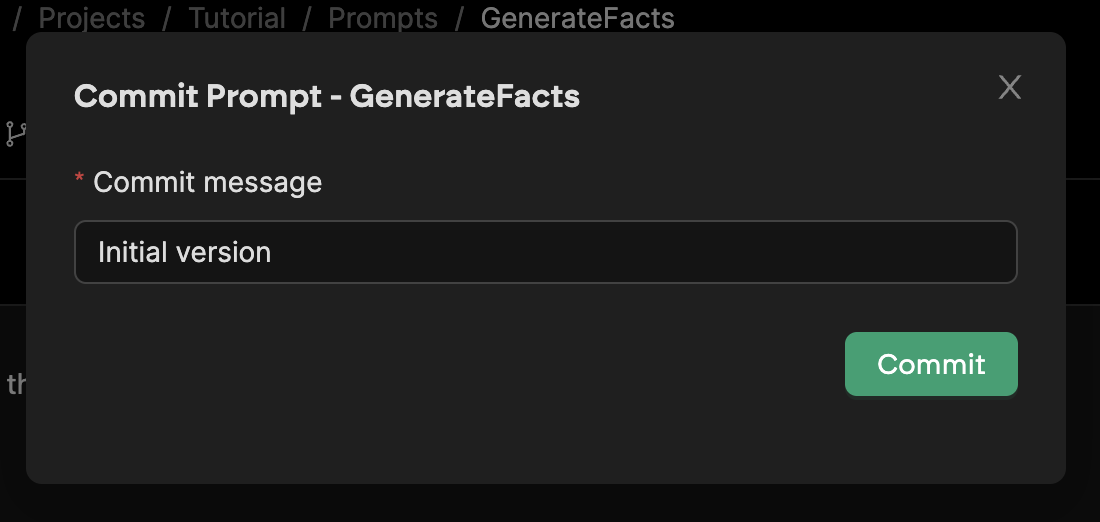 Now that we've committed the prompt, we can publish it. Click the **Publish** button at the top right, and choose the desired environment. In our case, we will choose the **Production** environment.
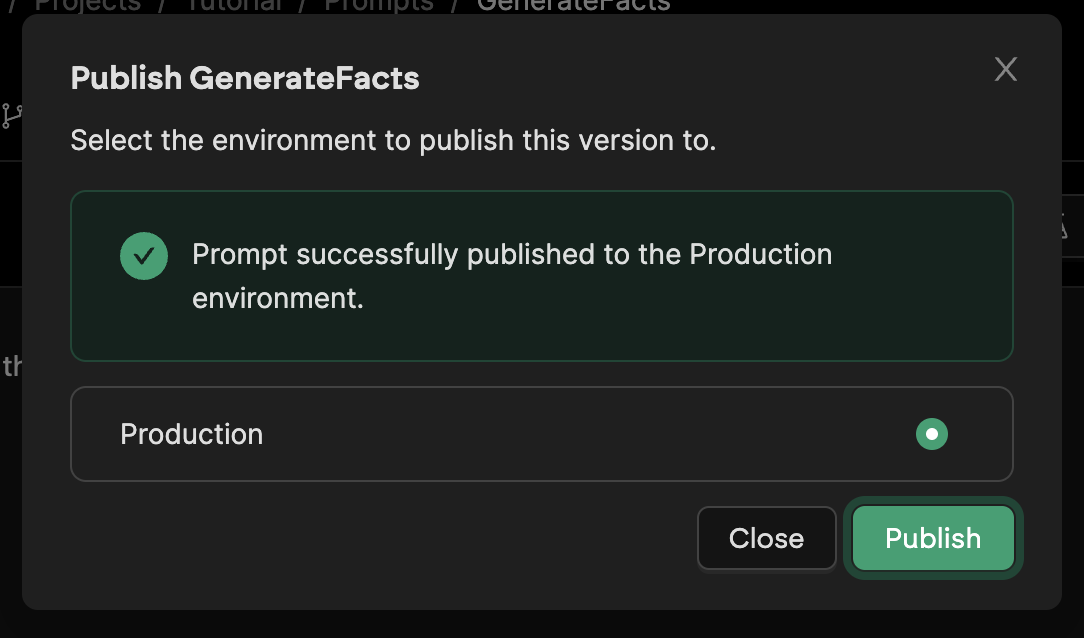
Every Pezzo project comes built in with a Production environment. You can manage your environments in the **Environments** page of your project.
Congratulations! You've just created your first prompt and published it to production. In the next step we will learn how to consume it in our application.