Create your first Prompt
In the Prompts page, click the + New Prompt button. This will open a modal where you can create a new Prompt. It’s best to choose a descriptive name for your prompt. We will call itFactGenerator.
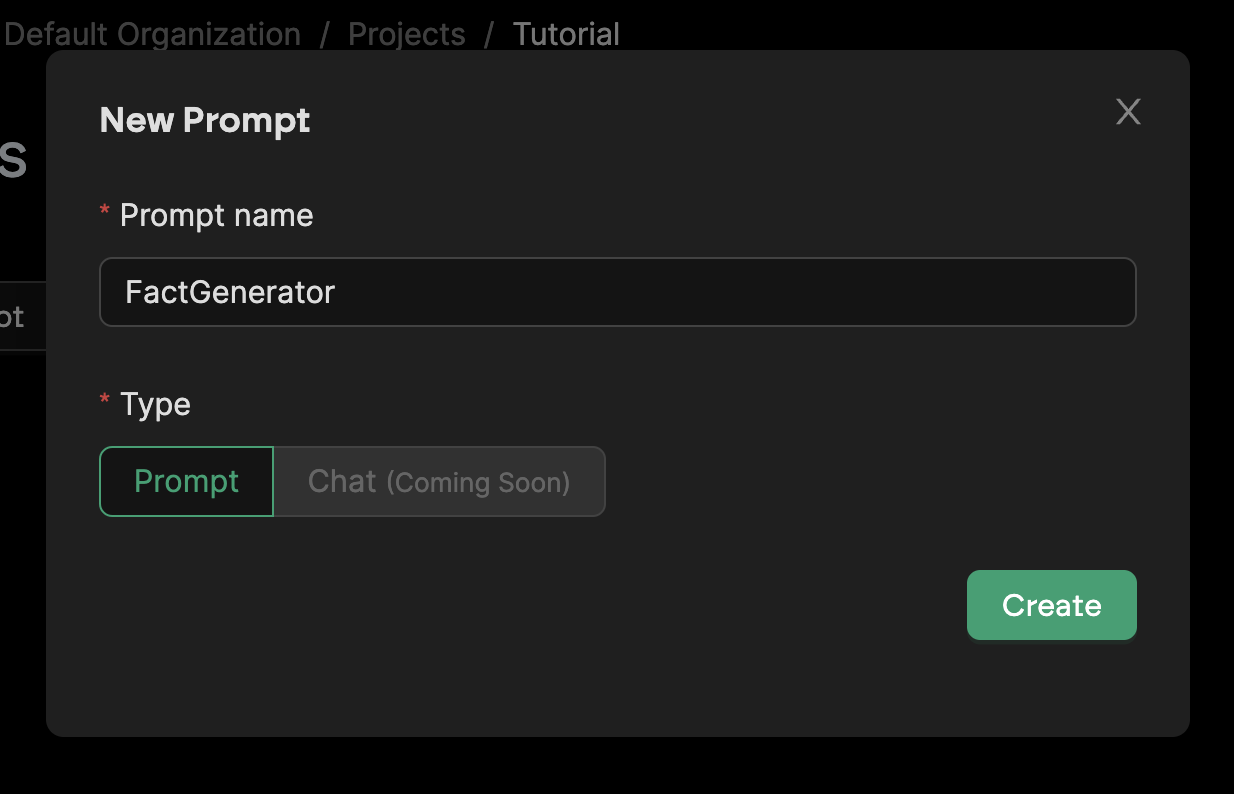
Prompts Page
The Prompt Editor
The Prompt Editor is the first screen you will see after selecting/creating a new prompt. This is wehere you will do some prompt engineering, commit and publish your prompts. You can find two main sections in the prompt editor - the Content and the Settings.Prompt Content
The Prompt Content is where you will write your prompt. In our case, we want to ask the LLM (in our case, OpenAI) to generate facts about a topic. Simply copy and paste the following:Prompt Settings
Depending on the LLM provider, the settings will vary. In our case, we will use the OpenAI API. Feel free to adjust the settings to your liking. However, for this tutorial, we will make the following adjustments:- Temperate:
0 - Max Response Length:
1000
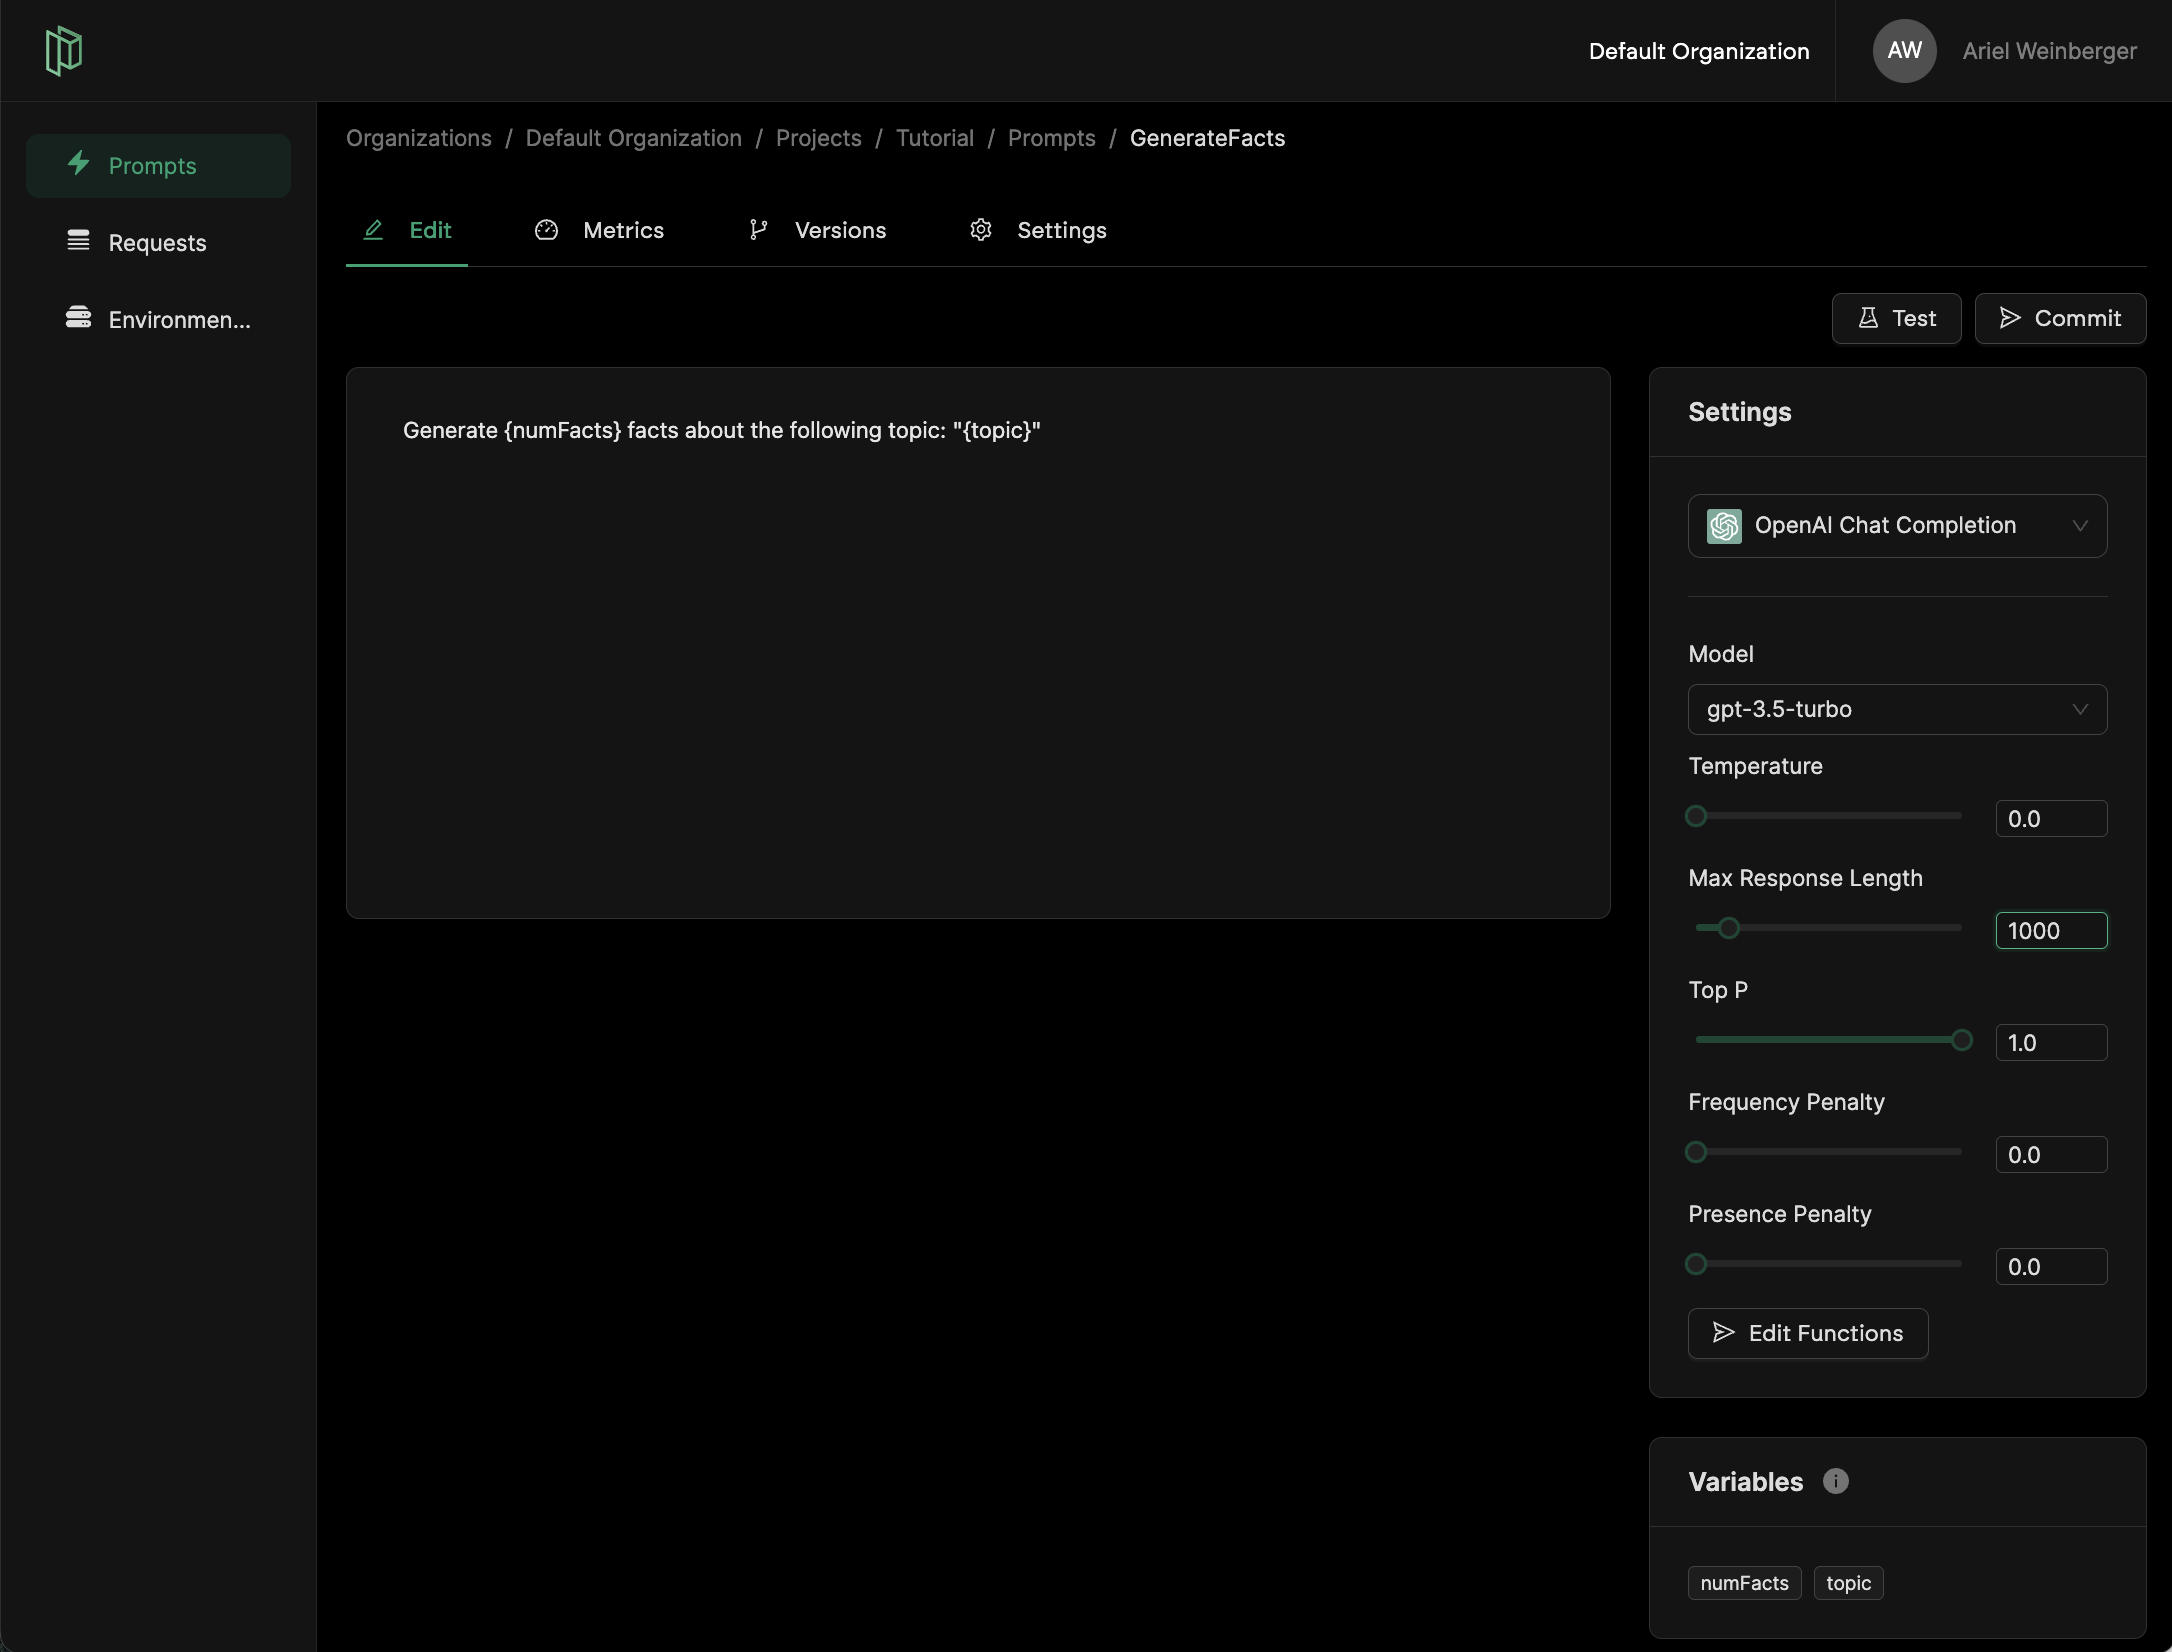
The Prompt Editor after defining the content and settings
Testing the Prompt
Pezzo allows you to test your prompts before publishing them. This is a great way to quickly iterate on your prompts and make sure they’re working as expected. To test your prompt, simply click the Test button. This will open a modal where you can enter the values for the variables you defined in the prompt content. For example, if we want to generate 3 facts about cats, we will enter the following: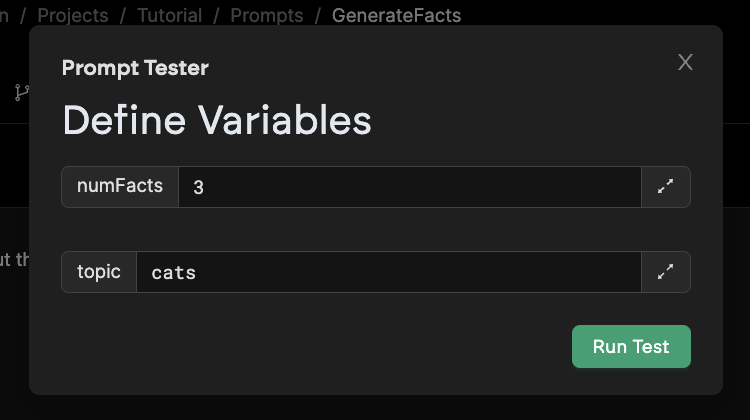
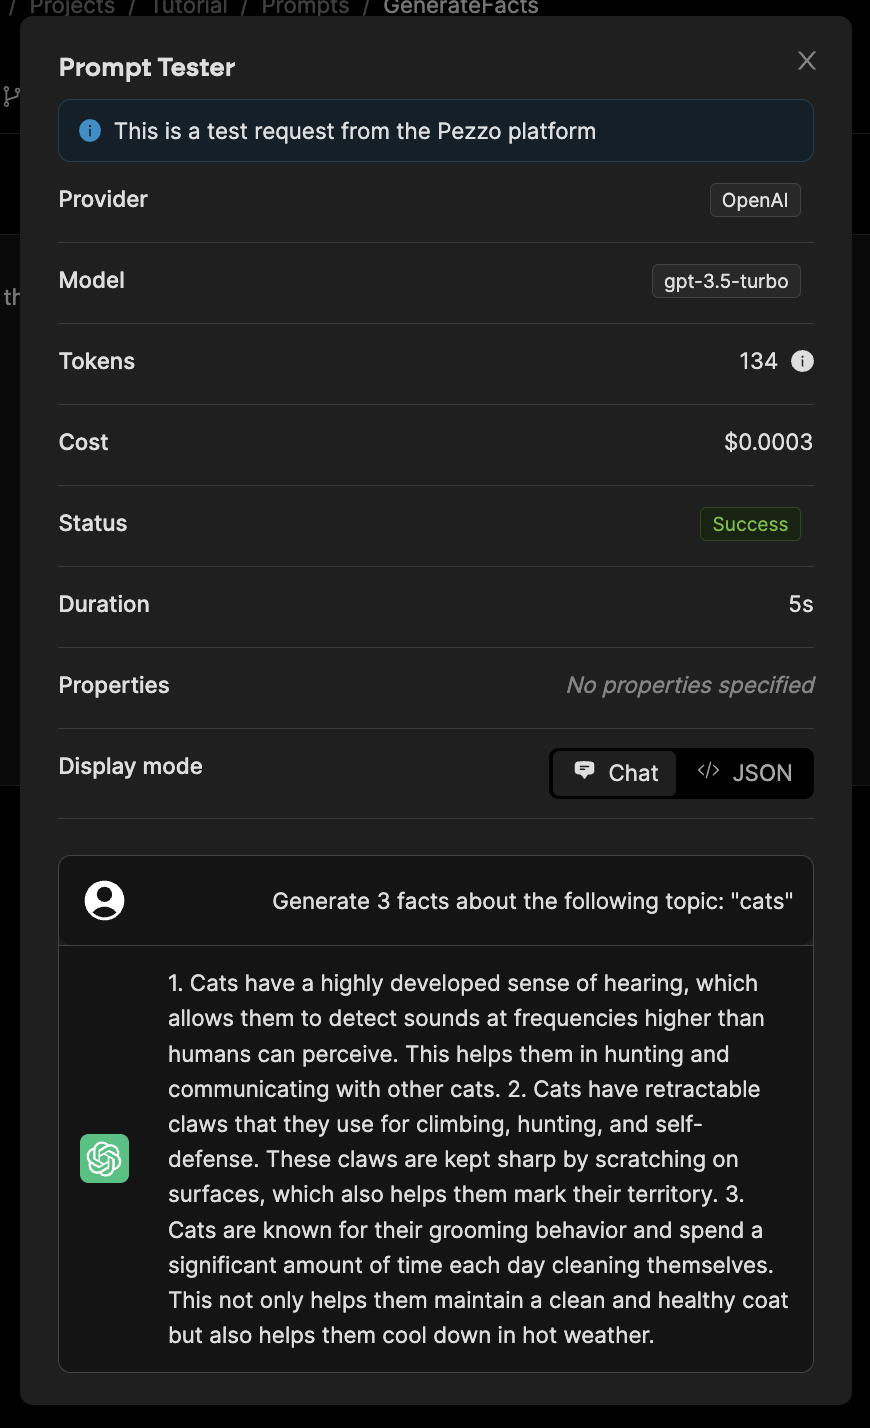
Prompt Test Results
- Token usage
- Cost
- Status (success, error)
- Duration
- Request body
- Response body
Commiting and Publishing the Prompt
Once we’re happy with the prompt, there is one more step we need to do before we can consume it in our application. We need to commit and publish the prompt. Simply click the Commit button at the top right, and provide a message, such asInitial version. Then, hit Commit.
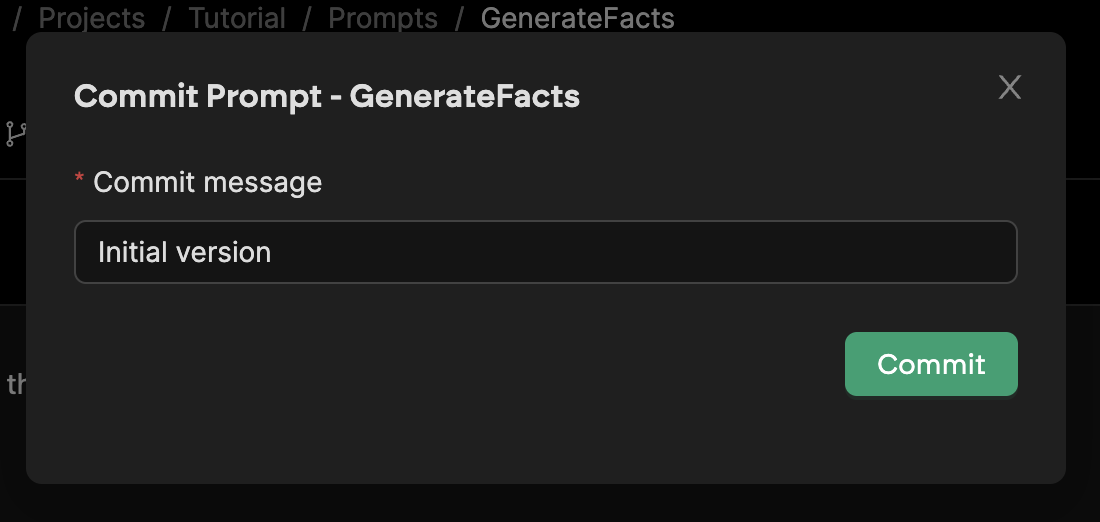
Commit Modal
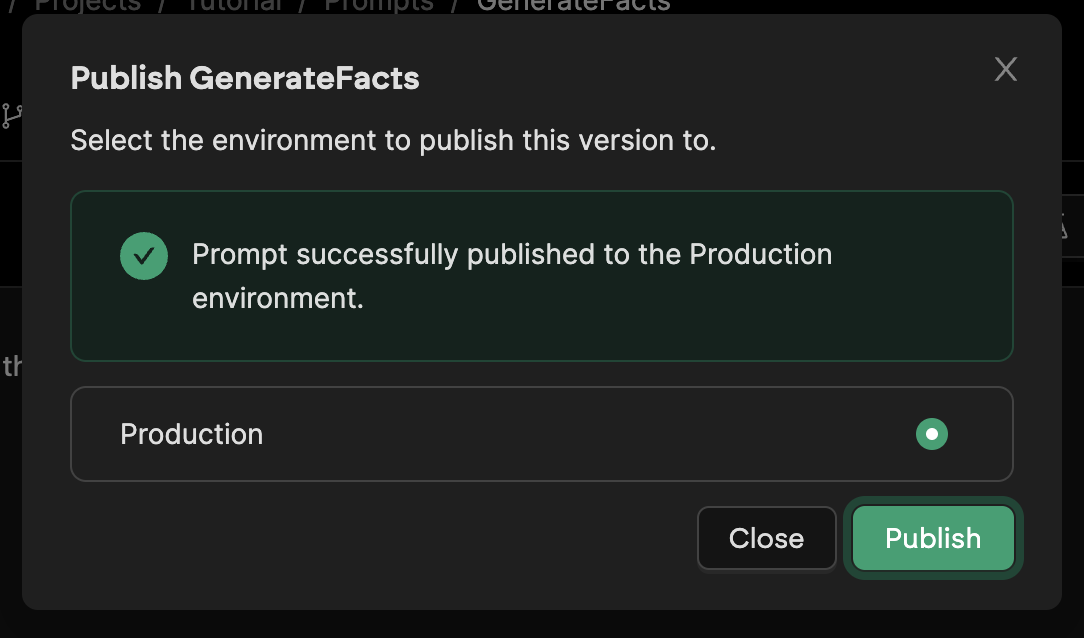
Publish Modal
Every Pezzo project comes built in with a Production environment. You can manage your environments in the Environments page of your project.

